Red velvet brownies blend the rich, fudgy texture of classic brownies with the elegance of red velvet cake. With their vibrant hue and moist crumb, these indulgent treats are perfect for any occasion. This guide walks you through an easy step-by-step recipe, covering essential ingredients like cocoa powder, red food coloring, and vanilla extract to ensure a stunning and delicious dessert.
Essential Ingredients and Equipment
Creating the perfect red velvet brownies starts with having the right ingredients and tools at your fingertips. In this section, we’ll dive into each aspect to ensure your baking process is smooth and the final product is delectably moist.

Must-Have Ingredients
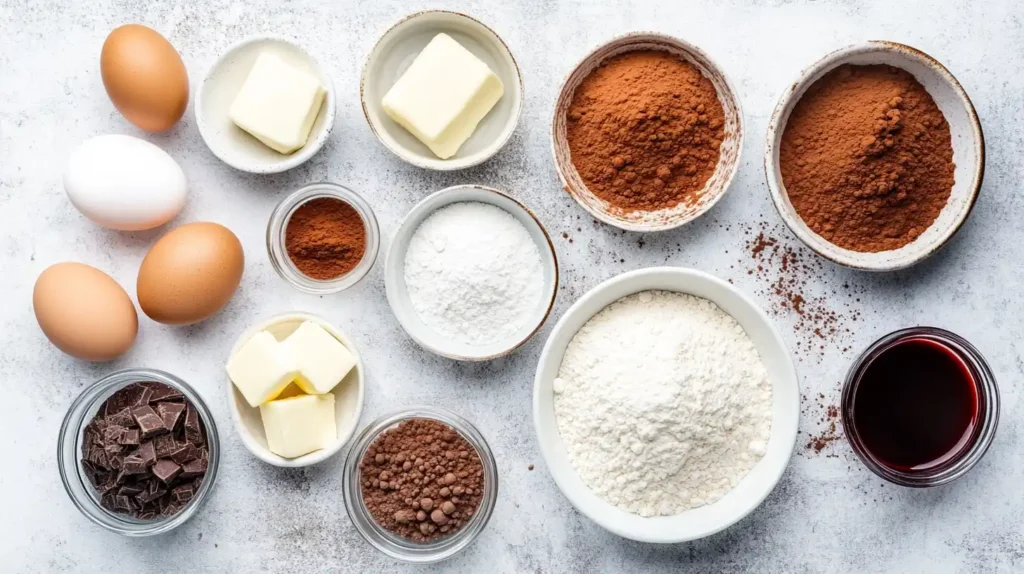
Every great red velvet brownies recipe relies on a core list of ingredients. Here’s what you’ll need and why each component is essential:
- All-Purpose Flour: Provides structure and balance to your brownies. Using the right flour ensures the texture is neither too dense nor too crumbly.
- Eggs: Act as a binder and help achieve that fudgy, moist consistency. Fresh eggs are key for optimal texture.
- Sugar: Sweetens the batter and contributes to the caramelization during baking, enhancing flavor and appearance.
- Butter: Offers richness and moisture. High-quality butter can significantly elevate the taste of your brownies.
- Cocoa Powder: Adds a subtle chocolate flavor that complements the red velvet profile without overpowering it.
- Red Food Coloring: Gives the brownies their signature vibrant hue. Using a quality food-grade coloring is important for both color intensity and safety.
- Vanilla Extract: Enhances and rounds out the flavors, making your brownies irresistibly aromatic.
- Baking Soda and Baking Powder: These leavening agents help the brownies rise just enough, ensuring a tender yet perfectly moist crumb.
Quality Over Quantity
When it comes to baking, the quality of your ingredients plays a crucial role. Fresh, high-quality components not only improve the flavor but also enhance the texture of your red velvet brownies. Opt for organic or locally sourced ingredients when possible, as they can make a noticeable difference in the overall outcome of your recipe.
Baking Tools and Equipment
Having the right tools in your kitchen simplifies the process and can lead to better results:
- Mixing Bowls: Essential for combining ingredients thoroughly. A set of various sizes helps in managing different steps of the recipe.
- Measuring Cups and Spoons: Precision is key in baking. Accurate measurements ensure consistency and balance in flavors.
- Electric Mixer or Whisk: A reliable electric mixer makes creaming butter and sugar effortless, though a sturdy whisk works in a pinch.
- Oven and Baking Pan: A well-calibrated oven is vital for even baking. Choose a baking pan that suits the size of your brownie batch and ensures even heat distribution.
- Spatula: For folding the ingredients gently to maintain the desired moist texture without overmixing.
Ingredient Substitutions
Flexibility in your ingredients can cater to dietary needs or ingredient availability:
- Gluten-Free Alternatives: Consider using gluten-free flour blends if you’re baking for those with gluten sensitivities.
- Dairy Substitutes: For a dairy-free version, you can replace butter with coconut oil or a plant-based butter alternative.
- Sugar Alternatives: If you need a lower-calorie option, experiment with natural sweeteners like stevia or erythritol, though adjustments might be necessary to retain texture.
- Egg Replacers: For a vegan adaptation, use flax eggs (a mixture of ground flaxseed and water) to help bind the ingredients.
By carefully selecting high-quality ingredients and utilizing the proper tools, you set the stage for baking red velvet brownies that are not only visually stunning but also irresistibly moist and flavorful. Each component plays a pivotal role, and understanding their functions helps you troubleshoot and perfect your recipe every time.
Step-by-Step Baking Process

Baking red velvet brownies involves a systematic process that ensures every ingredient contributes to that perfect moist and fudgy texture. Below is an in-depth look at each stage in the baking process:
Prepping Your Kitchen
- Preheat Your Oven: Start by setting your oven to the required temperature (typically around 350°F or 175°C). A properly preheated oven ensures even baking right from the start.
- Prepare the Baking Pan: Grease your pan or line it with parchment paper. This step is crucial for easy removal and to prevent sticking, preserving the integrity of your brownies.
- Organize Your Ingredients and Tools: Gather all necessary ingredients and equipment—mixing bowls, measuring cups, an electric mixer or whisk, and a spatula. A well-organized kitchen helps streamline the process and minimizes mistakes.
Mixing the Dry Ingredients
- Sifting for Consistency: In a large bowl, sift together the all-purpose flour, cocoa powder, baking soda, and baking powder. Sifting not only eliminates lumps but also ensures the leavening agents and cocoa powder are evenly distributed, which is key for a uniform rise and texture.
- Accurate Measurements: Use precise measurements to maintain the right balance of ingredients. The correct proportions are essential for achieving the perfect crumb and consistency in your brownies.
Blending in the Wet Ingredients
- Creaming Butter and Sugar: In a separate bowl, cream the butter and sugar together until the mixture becomes light and fluffy. This process is vital as it incorporates air into the batter, contributing to a lighter texture.
- Adding Eggs and Flavorings: Incorporate eggs one at a time, ensuring each is fully mixed in before adding the next. Then, blend in the red food coloring and vanilla extract. These ingredients not only provide the classic red velvet flavor and color but also enhance the overall aroma and taste.
- Combining Wet and Dry Mixtures: Gradually mix the wet ingredients into the bowl of dry ingredients. Stir gently to ensure an even distribution, being cautious not to overmix. Overmixing at this stage can develop gluten, leading to tougher brownies.
Folding and Final Mix
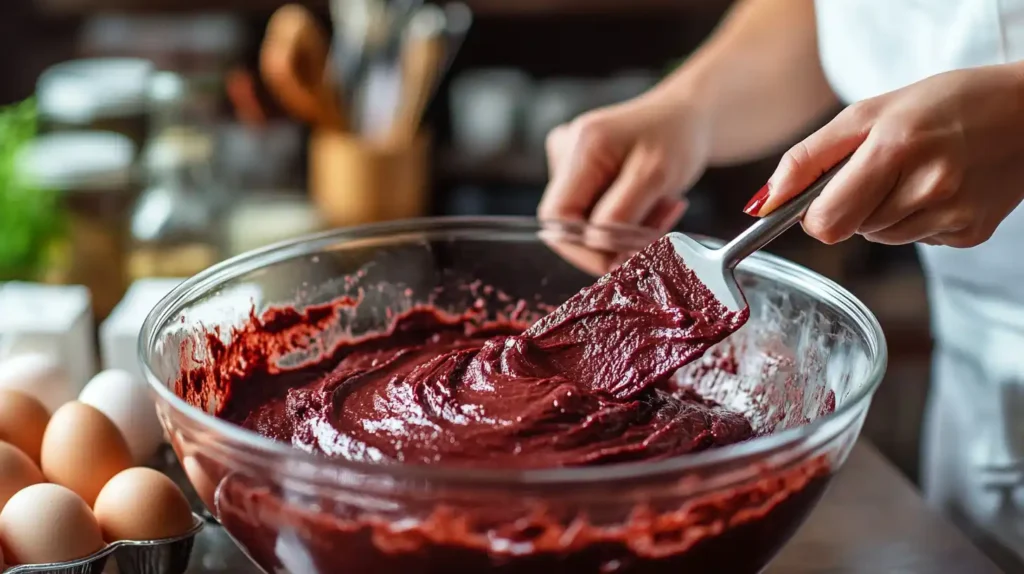
- Gentle Folding Technique: Use a spatula to fold the batter slowly. This technique helps maintain the airiness achieved during the creaming process and ensures the final product remains moist.
- Even Distribution: Once the ingredients are just combined, transfer the batter into your prepared baking pan. Smooth the top with a spatula to create an even layer, which is crucial for uniform baking.
- Final Check Before Baking: Ensure your batter is well mixed but not overworked. The delicate balance between mixing enough to combine and stopping before overmixing is what gives your brownies their signature moist texture.
Following these detailed steps not only simplifies the baking process but also maximizes your chances of achieving irresistibly moist and flavorful red velvet brownies. Each stage—from preheating and ingredient preparation to the final fold—plays a critical role in crafting the perfect treat.
Tips and Tricks for Perfect Moist Brownies

Baking brownies that are both moist and flavorful can be a delicate balancing act. Here are some practical tips and techniques to help you achieve that perfect, fudgy texture every time you bake red velvet brownies.
Oven Temperature and Timing
- Preheat Accurately: Ensure your oven is fully preheated to the recommended temperature (typically around 350°F or 175°C). An oven thermometer can be a great investment to verify the actual temperature.
- Monitor Baking Time: Overbaking is one of the most common reasons for dry brownies. Start checking a few minutes before the suggested baking time. The center should be set but still slightly soft to ensure moisture is locked in.
- Even Heat Distribution: Use a baking pan that promotes even heat distribution. Dark or non-stick pans can bake faster, so adjust the timing accordingly if you’re using them.
Achieving the Ideal Texture
- Gentle Mixing: Once you combine the wet and dry ingredients, mix just until incorporated. Overmixing can develop too much gluten, leading to a tougher, drier texture.
- Folding Technique: Use a light hand when folding in ingredients to maintain the airy consistency achieved during the creaming process.
- Batch Size and Pan Size: The thickness of the batter in your pan affects moisture. A thicker layer tends to retain moisture better, so choose a pan size that matches your recipe’s volume.
Troubleshooting Common Issues
- Too Dry: If your brownies come out too dry, consider reducing the baking time slightly or checking your oven’s calibration. You can also add a tablespoon of an extra moistening ingredient, such as a bit more butter or even a splash of milk.
- Underbaked Centers: Brownies that are too moist or underbaked in the center may need a few more minutes in the oven. Use a toothpick inserted in the center; it should come out with a few moist crumbs, not completely raw batter.
- Texture Variations: If you’re aiming for a fudgier texture, use a higher fat-to-flour ratio and less baking time. Experimenting with slight modifications can help you dial in the perfect consistency for your taste.
Enhancing Flavor
- Flavor Boosters: Small additions like a pinch of salt can enhance the sweetness and depth of your brownies. Likewise, a bit more vanilla extract can round out the flavors beautifully.
- Creative Twists: Consider adding mix-ins such as chopped nuts, a swirl of cream cheese, or even a drizzle of caramel on top after baking for an extra layer of indulgence. If you love the combination of chocolate, nuts, and caramel, you’ll definitely want to try our Best Chocolate Pecan Turtle Clusters Recipe for another irresistibly sweet treat.
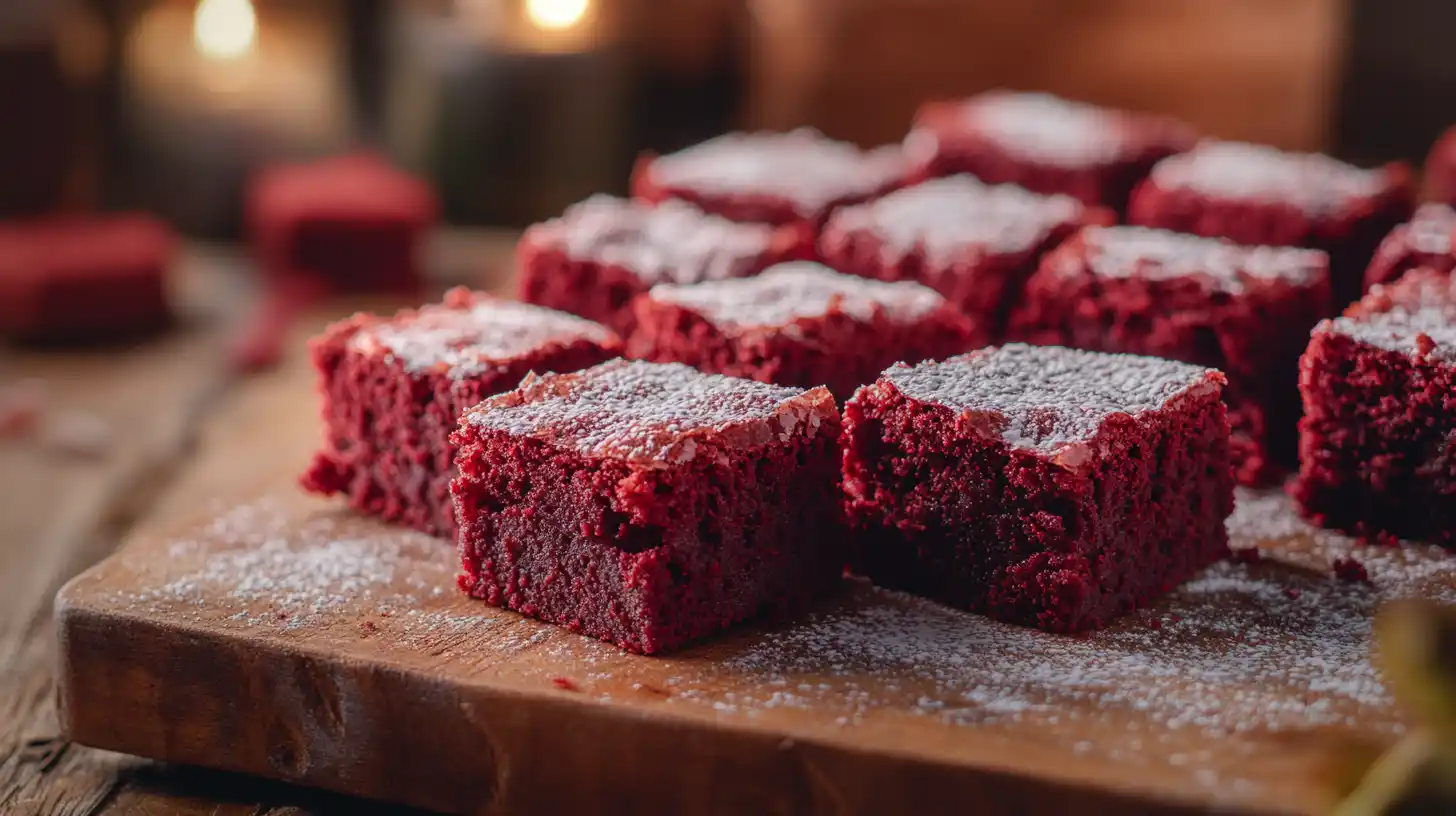
- Serving Suggestions: Enhance the overall experience by serving your brownies with complementary toppings like a scoop of vanilla ice cream or a dusting of powdered sugar. These finishing touches can elevate both presentation and flavor.
By paying close attention to these tips and tricks, you’ll be well on your way to mastering the art of baking moist, irresistible red velvet brownies that stand out every time.
Serving, Storage, and Final Thoughts
After you’ve achieved the perfect moist red velvet brownies, it’s time to consider how to best serve, store, and enjoy them. This section wraps up your baking journey with creative serving ideas, practical storage tips, and some final thoughts to inspire your next baking adventure.
Creative Serving Suggestions
- Presentation is Key:
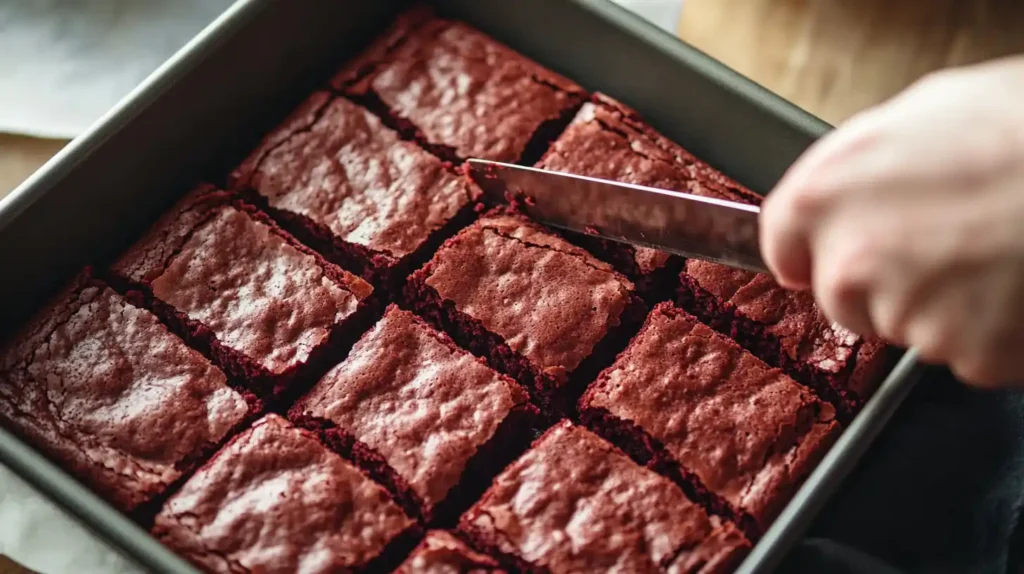
Elevate your brownies with a thoughtful presentation. Consider cutting them into neat squares or using a sharp knife to create clean edges. A dusting of powdered sugar or a drizzle of cream cheese frosting can add visual appeal and extra flavor. - Pairing with Sides:
Complement the rich flavor of red velvet brownies by serving them alongside a scoop of vanilla ice cream or a dollop of whipped cream. The contrast of warm brownies and cool ice cream creates a delightful textural and temperature contrast. - Garnishes and Extras:
Enhance your serving platter with fresh berries or a sprinkle of chopped nuts. These additions not only provide a pop of color but also introduce a subtle crunch that balances the brownies’ soft, fudgy texture.
Proper Storage Techniques
- Short-Term Storage:
Once your brownies have cooled completely, store them in an airtight container at room temperature. This helps maintain their moisture and flavor, keeping them fresh for up to 3–4 days. - Refrigeration for Longevity:
If you plan to enjoy your brownies over a longer period, refrigerate them in a sealed container. Before serving, allow them to return to room temperature or gently warm them in the microwave for a few seconds to restore their soft texture. - Freezing Tips:
For extended storage, wrap each brownie individually in plastic wrap and then place them in a freezer-safe bag. This method preserves both the flavor and moisture. When you’re ready to indulge, thaw them in the refrigerator overnight and enjoy the same rich taste as when freshly baked.
Reheating and Enjoying
- Microwave Reheat:
For a quick warm-up, place a brownie on a microwave-safe plate and heat it for about 15–20 seconds. This brief warming enhances the fudgy texture without drying them out. - Oven Refresh:
Alternatively, reheat your brownies in a preheated oven at 300°F (150°C) for 5–7 minutes. This method helps to maintain the brownies’ structure and moisture, making them taste as fresh as when they first came out of the oven. - Serving Warm:
Warm brownies are a treat on their own, but they also make a perfect base for creative desserts like brownie sundaes or even as a component in layered dessert bowls.
Final Thoughts
- Key Takeaways:
Your journey to baking perfect red velvet brownies encompasses more than just mixing ingredients. It’s about understanding the role of each component, mastering techniques to preserve moisture, and adding your creative twist to serving and storage. - Inspiration to Experiment:
Don’t be afraid to experiment with serving styles or storage methods. Every adjustment is a step towards perfecting your personal recipe, ensuring that your brownies always meet your taste and texture expectations. - Share Your Success:
Finally, share your baking success with friends, family, or even on social media. Feedback not only spreads the joy of your delicious creation but also helps others discover the secrets to making red velvet brownies that are both visually stunning and incredibly moist.
With these serving, storage, and final tips in mind, you’re all set to enjoy your red velvet brownies at their best—whether served fresh out of the oven or stored for a later indulgence. Enjoy the process and the delicious results!
