There’s nothing quite like the warm, cozy taste of apple cider syrup. Its sweet, tangy, and slightly spiced flavor makes it a fall favorite that can be enjoyed all year long.
Many people think syrup is just for pancakes or waffles. But apple cider syrup is so much more. Drizzle it on desserts, stir it into drinks, or glaze it over roasted meats and vegetables. For a similar versatile topping, you might also love this street corn dip with Tajin, which offers a zesty twist on classic dips.
But here’s the best part: making this recipe doesn’t have to be a labor-intensive process. Thanks to the simplicity of a crock pot (slow cooker), you can create a rich, flavorful syrup with minimal effort. Forget standing over a stove, constantly stirring to avoid burning. The crock pot does the work for you, slowly simmering the cider until it reduces to a smooth, velvety consistency.
If you’re eager to experience the magic of homemade syrup, don’t miss this Apple Cider Syrup Recipe (Crock Pot). It’s a step-by-step guide to making your own delicious apple cider syrup with ease.
This guide will walk you through the entire process, from gathering ingredients to mastering the perfect thickness and flavor. By the end of this article, you’ll be able to create a homemade apple cider syrup that tastes just as good as any store-bought version — if not better. Whether you’re a kitchen novice or an experienced cook, this step-by-step guide will have you making syrup like a pro.
In this article, we’ll cover:
- The essential ingredients for making apple cider syrup.
- Step-by-step instructions on how to make the syrup using a crock pot.
- Tips for storing, using, and customizing the syrup’s flavor.
So, grab your crock pot, stock up on fresh apple cider, and get ready to fill your kitchen with the irresistible aroma of fall flavors. Your homemade apple cider syrup adventure begins here!
Ingredients and Tools for Apple Cider Syrup

Making apple cider syrup in a crock pot is a simple process, but to achieve that rich, velvety consistency and bold apple flavor, you’ll need the right combination of ingredients and kitchen tools. This section will walk you through everything you need to have on hand before you start.
Essential Ingredients for Apple Cider Syrup
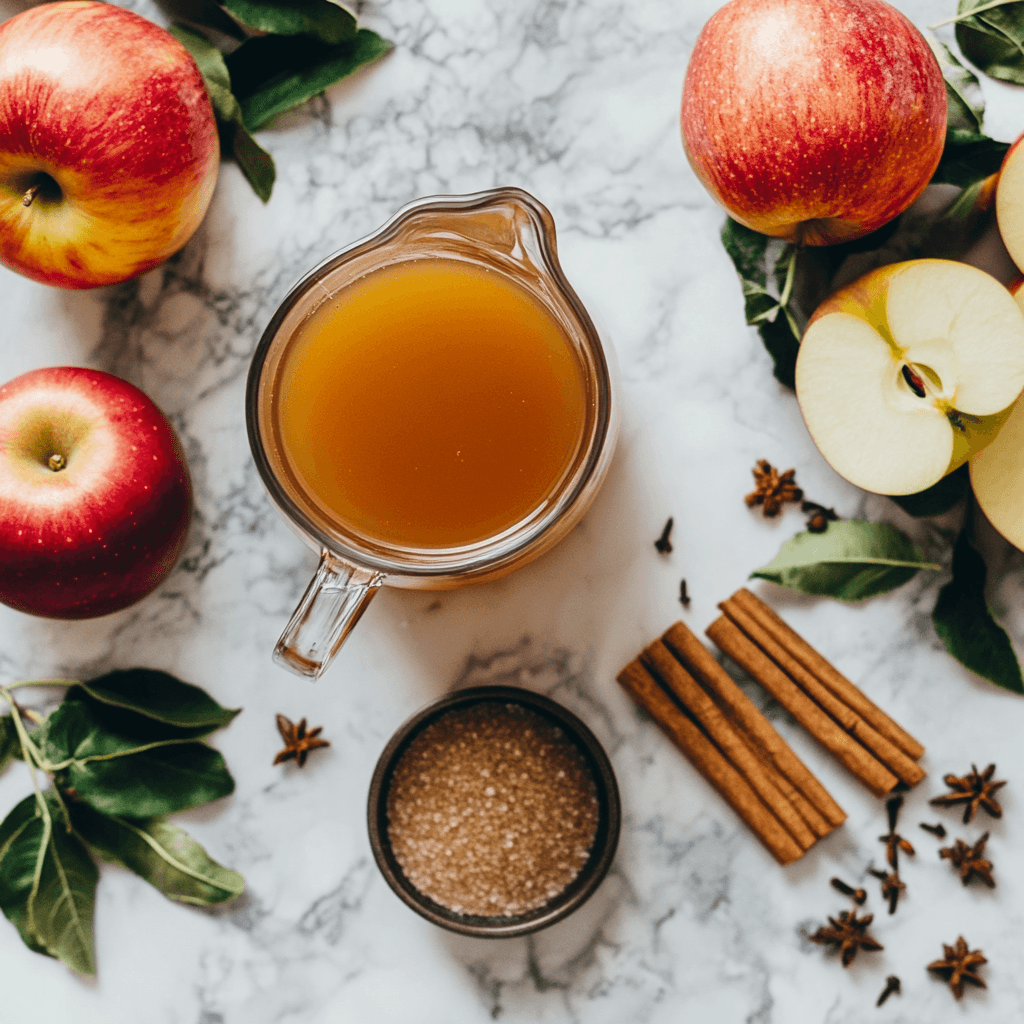
The ingredients for apple cider syrup are simple, natural, and widely available. You probably already have many of these in your pantry. Here’s a list of the core ingredients you’ll need:
- Apple Cider (Main Ingredient)
- Quantity: 8 to 10 cups (depending on the desired yield)
- Why It’s Important: Apple cider is the base of the syrup, providing its signature flavor and natural sweetness. For the best taste, use fresh, unfiltered cider from a local market or try making your own with this slow cooker apple cider with fresh apples recipe.
- Sugar (Optional but Recommended)
- Quantity: 1/2 to 1 cup (can be adjusted to taste)
- Why It’s Important: While apple cider naturally contains sugar, adding extra sugar helps thicken the syrup and enhances the sweetness. You can use white granulated sugar, brown sugar, or even honey for a deeper flavor.
- Spices (For Warm Fall Flavors)
- Recommended Spices: Cinnamon sticks, cloves, star anise, nutmeg, and allspice.
- Quantity: 1-2 cinnamon sticks, 4-5 whole cloves, and 1/2 teaspoon each of nutmeg and allspice (all to taste).
- Why It’s Important: Spices give the apple cider syrup that classic autumn flavor. Cinnamon adds warmth, cloves provide a hint of spice, and nutmeg offers a subtle nutty undertone. You can customize the spices based on your personal preferences.
- Vanilla Extract (Optional but Flavorful)
- Quantity: 1 teaspoon (added at the end of the cooking process)
- Why It’s Important: Vanilla adds a smooth, sweet aroma to the syrup and rounds out the other flavors. It’s optional but highly recommended.
- Lemon Juice (Optional but Enhances Flavor)
- Quantity: 1-2 tablespoons (added at the end)
- Why It’s Important: A splash of lemon juice brightens the flavor of the syrup, balancing out the sweetness with a touch of acidity. This is especially useful if your cider is very sweet.
Want to explore other crock pot recipes that use simple ingredients? Check out this slow cooker cheesy chicken and rice recipe for a hearty, family-friendly dinner idea.
Optional Ingredients for Extra Flavor
If you’re feeling adventurous, you can add extra ingredients to give your apple cider syrup a signature twist. Here are a few options:
- Orange Zest or Juice: Adds a citrusy tang that pairs perfectly with fall spices.
- Maple Syrup: Replace a portion of the sugar with maple syrup for a unique blend of flavors.
- Herbs (Like Rosemary or Thyme): Adds an earthy, aromatic element that works well with savory dishes.
These additions aren’t necessary but can give your syrup a more personalized flavor profile.
Tools You’ll Need
To make apple cider syrup in a crock pot, you’ll need some essential kitchen tools. Fortunately, you won’t need anything fancy — most of these tools are probably in your kitchen already.
- Crock Pot (Slow Cooker)
- Why It’s Important: The crock pot heats the cider slowly, turning it into a thick, sweet syrup. You won’t need to watch or stir it constantly. The crock pot does all the work!
- Strainer or Cheesecloth
- Why It’s Important: If you’re using whole spices (like cinnamon sticks or whole cloves), you’ll need to strain them out before bottling the syrup. A fine mesh strainer or cheesecloth works perfectly for this.
- Wooden Spoon or Ladle
- Why It’s Important: You’ll occasionally stir the syrup as it cooks, and a wooden spoon is ideal for this. A ladle is also useful for scooping and transferring the syrup into jars or bottles.
- Glass Jars or Bottles (For Storage)
- Why It’s Important: Once the syrup is done, you’ll need a place to store it. Mason jars, glass bottles, or any airtight, food-safe containers will work.
- Measuring Cups and Spoons
- Why It’s Important: Precise measurements help you achieve the right balance of sweetness and spice.
- Thermometer (Optional)
- Why It’s Important: If you want to be extra precise, a candy or kitchen thermometer will tell you when the syrup reaches the right temperature for thickening (usually around 220°F or 104°C).
Now that you have your ingredients and tools ready, it’s time to start making apple cider syrup. In the next section, we’ll provide a step-by-step guide to help you master the process.
Step-by-Step Instructions for Apple Cider Syrup Recipe

Making apple cider syrup in a crock pot is a simple, hands-off process. By following these steps, you’ll turn fresh apple cider into a thick, sweet, and flavorful syrup that tastes like fall in every drop. This section will break down each step, from preparation to final touches.
Step 1: Preparing the Ingredients
Before you start cooking, it’s essential to prepare the ingredients. This step ensures everything is ready to go once the crock pot starts warming up. Here’s how to do it:
- Measure Out Your Apple Cider
- Pour 8 to 10 cups of fresh apple cider into a measuring cup. Fresh, unfiltered cider is preferred for the best flavor. If you’re using store-bought cider, make sure it’s 100% apple cider without added sugars or preservatives.
- Add Sugar (Optional)
- If you want a sweeter syrup, measure out 1/2 to 1 cup of sugar. White sugar will give a clean, sweet flavor, while brown sugar adds a hint of molasses. You can also substitute honey, maple syrup, or coconut sugar for a more complex flavor.
- Gather the Spices
- Collect your cinnamon sticks, whole cloves, nutmeg, and other spices. For simplicity, you can place them in a small piece of cheesecloth and tie it up to create a “spice bag.” This makes it easier to remove the spices later.
- Prepare the Crock Pot
- Clean and dry the inside of your crock pot. If you’re worried about cleanup, you can lightly coat the inside with non-stick spray or use a slow-cooker liner.
Looking for another delicious recipe that requires minimal prep time? Try this wild turkey crock pot recipe, which uses simple seasonings to create tender, fall-off-the-bone turkey.
Step 2: Setting Up the Crock Pot
Once your ingredients are prepped, it’s time to start the slow cooking process. Follow these steps to get your crock pot ready:
- Add the Apple Cider
- Pour the apple cider directly into the crock pot. Make sure it fills the pot to about 3/4 of its capacity, leaving room for any foam or bubbling that might occur during cooking.
- Add Sugar and Spices
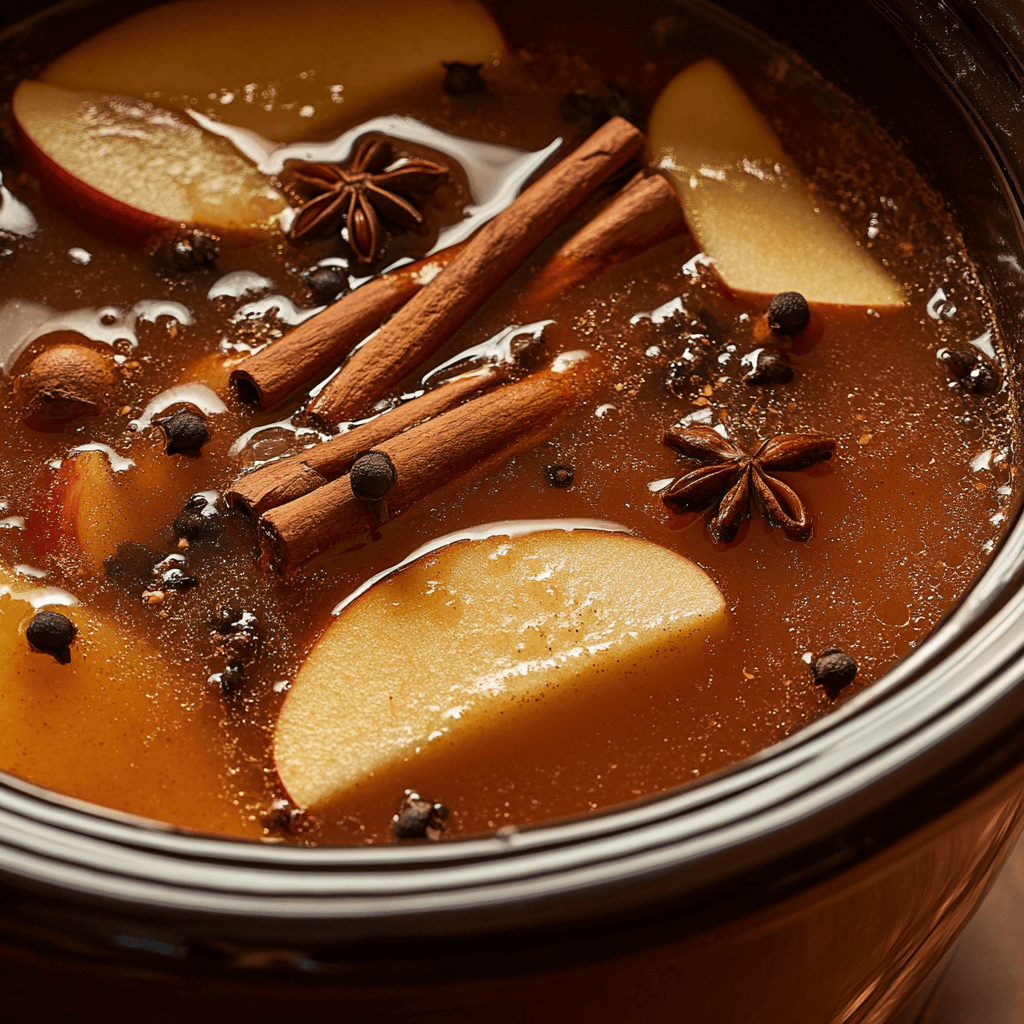
- If you’re adding sugar, stir it into the apple cider until it dissolves. Then, place the spice bag (or loose spices) directly into the liquid. If you’re using whole cinnamon sticks or vanilla beans, simply drop them in.
- Set the Temperature
- Set the crock pot to low heat for a slow, steady simmer. This method is preferred over high heat to prevent scorching and to allow the cider to reduce slowly and evenly.
- Set the Timer
- Cook the cider for 6 to 8 hours on low. The longer you cook it, the more the cider will reduce, creating a thicker, more concentrated syrup.
Step 3: Cooking Time and Temperature
The key to perfect apple cider syrup is patience. The slow cooking process allows the liquid to gradually reduce and the flavors to concentrate. Here’s what to expect during the cooking phase:
- First 2 Hours
- During the first couple of hours, the cider will begin to warm up, and the spices will start infusing their flavors. At this stage, the cider may look the same, but you’ll notice a delicious aroma filling your kitchen.
- Hour 3 to Hour 5
- As the cider continues to simmer, you’ll notice it starts to reduce in volume. This is when the cider begins to thicken. It’s a good idea to stir it every hour to ensure no spices stick to the sides or bottom of the crock pot.
- Hour 6 to Hour 8
- By the end of the cooking process, the cider should be significantly reduced. It should now have a thicker, syrup-like consistency. Check the liquid level — it should be about 1/3 of its original volume.
- Tip: If you prefer a thicker syrup, you can continue cooking for an additional 1-2 hours. Just be sure to stir it occasionally to prevent burning.
Step 4: Checking for Consistency and Thickness
Knowing when your syrup is ready is crucial. You want it to be thick, but not so thick that it becomes too hard to pour. Here’s how to check for the perfect consistency:
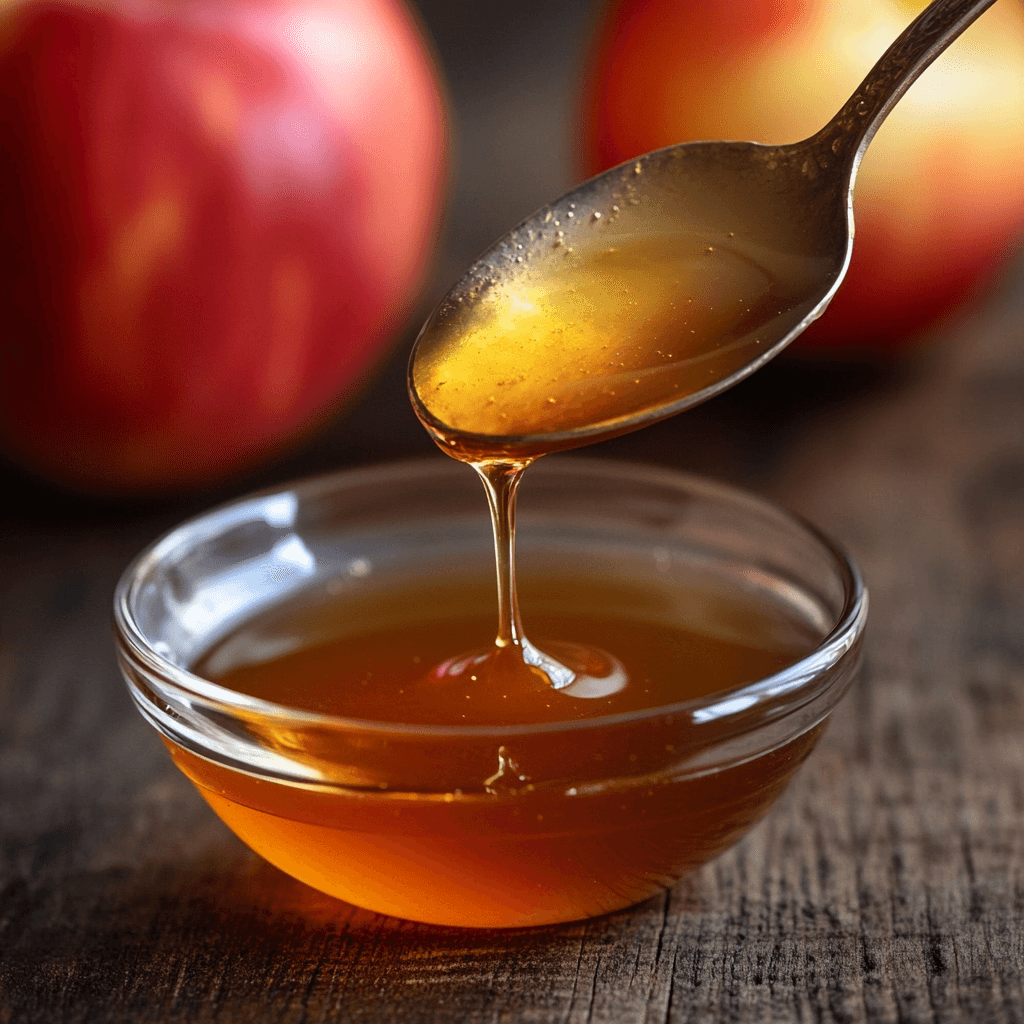
- The Spoon Test
- Dip a spoon into the syrup, then lift it out. If the syrup coats the back of the spoon and drips off slowly (like honey or maple syrup), it’s ready.
- Temperature Check (Optional)
- For an exact result, you can use a candy thermometer. The syrup should reach around 220°F (104°C) to achieve a perfect syrupy texture.
- The Cold Plate Test
- Place a small amount of syrup on a plate and put it in the freezer for 2-3 minutes. If it thickens and has a syrup-like texture when you remove it, then it’s ready.
If the syrup is too thin, continue cooking for another hour, checking the consistency every 30 minutes. If it becomes too thick, you can add a splash of fresh cider to loosen it.
Step 5: Final Touches and Serving Tips
You’re almost done! Here’s how to finish your syrup and get it ready for storage or serving:
- Remove the Spice Bag
- If you used a spice bag (or loose whole spices), carefully remove it from the crock pot using tongs. Be sure to squeeze any extra liquid from the bag before discarding it.
- Add Vanilla Extract and Lemon Juice (Optional)
- At this stage, you can add 1 teaspoon of vanilla extract and 1 tablespoon of lemon juice. These ingredients brighten the flavor and create a more balanced syrup.
- Strain the Syrup (If Necessary)
- If any stray spices or solids are floating in the syrup, strain it through a fine mesh strainer or cheesecloth to achieve a smooth, clear syrup.
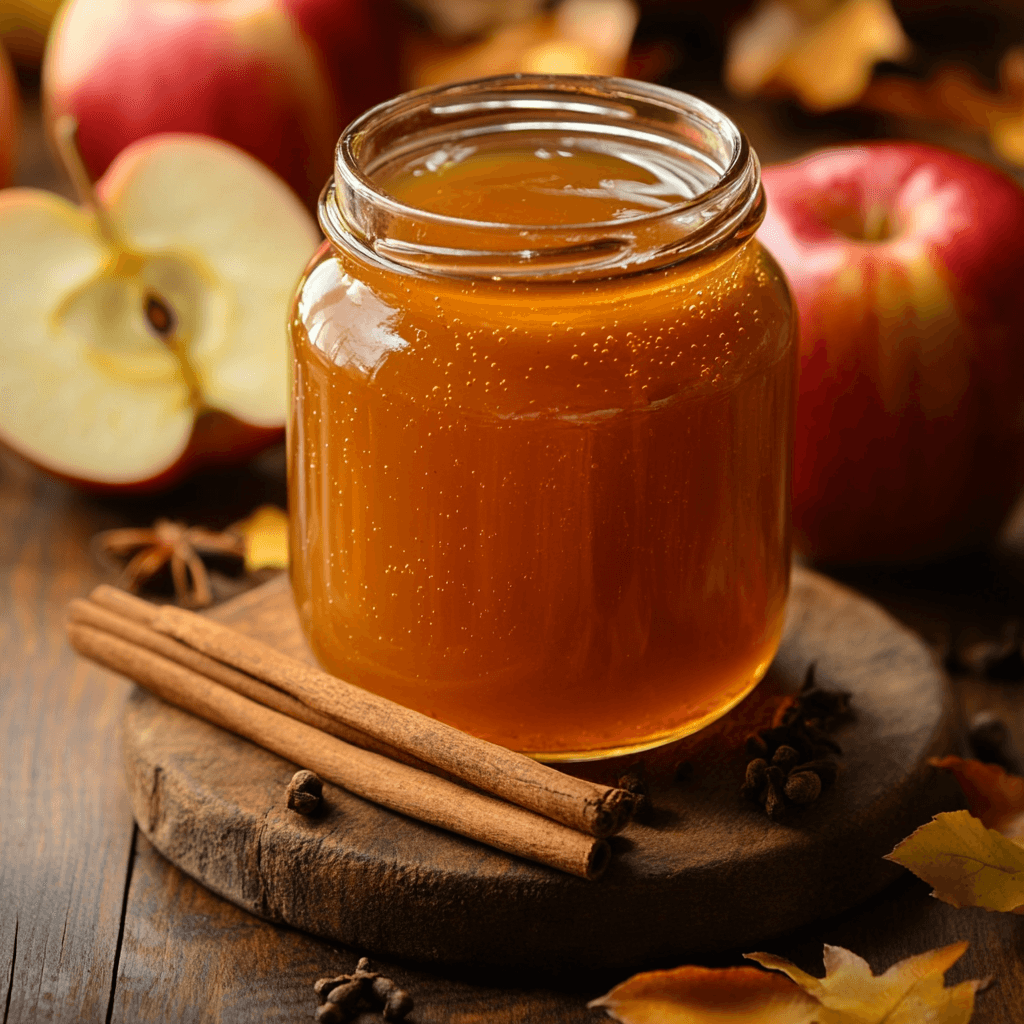
- Pour Into Jars or Bottles
- Carefully pour the syrup into clean, sterilized glass jars or bottles. Leave a small amount of space at the top to allow for expansion if you plan to freeze it.
- Cool and Seal
- Let the jars cool at room temperature before sealing them with airtight lids. Label them with the date and store them properly (we’ll cover storage tips in the next section).
- Serve and Enjoy
- Your apple cider syrup is now ready to use! Drizzle it over pancakes, waffles, or desserts, or mix it into seasonal drinks.
Tips for the Perfect Apple Cider Syrup
If you want to take your apple cider syrup from “good” to “absolutely perfect,” a few expert tips can make a big difference. Small adjustments in cooking time, temperature, and ingredients can affect the thickness, taste, and shelf life of your syrup. Here’s how to achieve perfection every time.

How to Achieve the Perfect Thickness
One of the most common challenges in making apple cider syrup is achieving the right consistency. Here’s how to do it like a pro:
- Slow and Steady Wins the Race
- The key to thick, glossy syrup is patience. Cooking the cider on low heat for 6 to 8 hours in a crock pot allows for gradual reduction, creating a rich, smooth syrup without burning or caramelizing.
- Use the Spoon Test
- The “spoon test” is one of the most reliable methods for checking thickness. Dip a spoon into the syrup and lift it out. If it coats the back of the spoon and drips slowly like honey, it’s ready.
- Don’t Overcook
- While it’s tempting to keep cooking until it looks super thick, remember that syrup thickens as it cools. If you reduce it too much, you may end up with something closer to a caramel or taffy. Remove the syrup from heat as soon as it passes the spoon test.
- Adjust With Fresh Cider
- If your syrup becomes too thick, don’t worry. Add 1-2 tablespoons of fresh apple cider and stir it in while the syrup is still warm. This will loosen it up to a pourable consistency.
- Use a Thermometer (Optional, but Precise)
- If you want precision, cook the cider until it reaches 220°F (104°C). This is the temperature where the liquid becomes a syrup, similar to how sugar is made into caramel.
Flavor Variations for Apple Cider Syrup
While classic apple cider syrup is delicious on its own, you can experiment with flavors to make it even more special. Here are a few ways to customize your syrup:
- Cinnamon-Infused Syrup
- Add 1-2 extra cinnamon sticks for a bold, spicy flavor. For a stronger infusion, break the sticks in half before adding them.
- Vanilla Apple Cider Syrup
- Add 1 teaspoon of pure vanilla extract at the end of the cooking process. Vanilla adds a sweet, fragrant aroma that pairs beautifully with apple cider.
- Spiced Citrus Twist
- Add orange zest or a few slices of fresh orange while cooking. This adds a fresh, citrusy flavor that balances the sweetness of the syrup. Remove the orange slices before bottling.
- Maple Apple Cider Syrup
- Replace 1/4 cup of the sugar with maple syrup. This creates a hybrid syrup that tastes like autumn in a jar.
- Bourbon-Infused Apple Cider Syrup
- For a grown-up twist, add 2 tablespoons of bourbon during the last 30 minutes of cooking. The alcohol will burn off, leaving behind a rich, smoky flavor.
- Herbal Infusions
- For something unique, add fresh rosemary, thyme, or even a sprig of sage to the pot. Herbal flavors pair well with savory dishes like roasted meats and vegetables.
How Long Should You Cook Apple Cider Syrup ?
The amount of time you cook apple cider syrup affects its flavor, thickness, and yield. Here’s what you need to know:
- 6 to 8 Hours for Classic Thickness
- Cooking for 6 to 8 hours will reduce the cider to about 1/3 of its original volume. This is the standard time to achieve a classic syrup-like consistency.
- Longer Cooking for Ultra-Thick Syrup
- If you want a thicker, molasses-like syrup, cook it for 9 to 10 hours. The longer you cook, the thicker it becomes, but be careful — too much cooking can result in an overly sticky, hard-to-pour consistency.
- Shorter Cooking for Light Syrup
- If you prefer a thinner syrup that’s more like a flavored drizzle, cook it for about 5-6 hours. It won’t be as thick, but it will still be delicious for drizzling over waffles or pancakes.
- Remember It Thickens As It Cools
- It’s important to note that the syrup will continue to thicken as it cools. Remove it from the heat while it’s still pourable, or you risk ending up with a too-thick, sticky mess.
Expert Tips and Tricks
- Use Fresh Apple Cider for Best Results
- The fresher the cider, the better the syrup. Store-bought cider works fine, but freshly pressed, unfiltered cider will give you a richer, more intense apple flavor.
- Use Whole Spices Instead of Ground
- Whole spices (like cinnamon sticks and whole cloves) infuse the cider without leaving gritty residue behind. If you only have ground spices, you’ll need to strain the syrup through a cheesecloth.
- Don’t Skip the Straining Process
- After cooking, strain the syrup to remove any spices, fruit bits, or sediment. This ensures a smooth, clean syrup that’s ready to pour.
- Sterilize Your Storage Jars
- If you plan to store the syrup long-term, sterilize your glass jars by boiling them in water for 10 minutes. This prevents contamination and extends shelf life.
- Don’t Over-Spice It
- While it’s tempting to add lots of spices, too much clove or nutmeg can overpower the delicate apple flavor. Start with small amounts and adjust as needed.
- Add Lemon Juice for Brightness
- Lemon juice at the end of the cooking process gives the syrup a hint of tartness that balances the sweetness. This step is optional, but it makes a big difference.
commercial versions, storage techniques are essential to prevent spoilage. Here’s everything you need to know about storing your syrup and extending its shelf life.
Storage and Shelf Life
Once your apple cider syrup is ready, it’s important to store it properly to maintain its freshness, flavor, and consistency. Because homemade syrups don’t contain preservatives like commercial versions, storage techniques are essential to prevent spoilage. Here’s everything you need to know about storing your syrup and extending its shelf life.
How to Properly Store Apple Cider Syrup
To keep your apple cider syrup fresh, follow these best practices for storage:
- Use Airtight Containers
- Store the syrup in clean, airtight glass jars, mason jars, or bottles with tight-sealing lids. Airtight storage prevents exposure to air, which could cause mold or spoilage.
- Tip: Use small glass jars or bottles so you only open small amounts at a time, reducing exposure to air.
- Refrigerate It
- Homemade apple cider syrup should always be stored in the refrigerator, as it lacks the preservatives found in store-bought versions. Refrigeration slows down the growth of bacteria and mold.
- Store it on a shelf (not the refrigerator door) to maintain a consistent temperature.
- Cool Before Sealing
- Before sealing the syrup in jars, let it cool to room temperature. Sealing it while it’s hot can create condensation inside the jar, introducing moisture that may shorten its shelf life.
- Use Proper Labels
- Label each jar with the date you made the syrup. This helps you keep track of its freshness and avoid using old syrup.
Shelf Life and Freshness Tips for Apple Cider Syrup
The shelf life of apple cider syrup depends on how it’s stored. Follow these guidelines to keep it fresh for as long as possible:
- Refrigerated Shelf Life
- When stored properly in an airtight container in the refrigerator, apple cider syrup lasts about 2 to 3 months.
- Signs of Spoilage
- Mold Growth: If you see mold on the surface or around the jar lid, discard the syrup.
- Foul Smell: If the syrup has an unusual, sour, or off-putting smell, it’s no longer safe to use.
- Color Changes: If the syrup darkens significantly or changes in texture, it may be oxidized or spoiled.
- How to Maximize Shelf Life
- Use Sterilized Jars: Sterilizing jars before filling them prevents bacteria and mold from growing.
- Avoid Double-Dipping: If you’re pouring syrup onto food, avoid putting the spoon back in the jar. Use a separate spoon for serving to keep the syrup clean.
- Seal Tightly After Use: Each time you use the syrup, ensure the lid is tightly closed to prevent air from entering.
Can You Freeze Apple Cider Syrup?
Yes, you can freeze apple cider syrup! Freezing is a great way to extend the shelf life of homemade syrup. Here’s how to do it properly:
- Use Freezer-Safe Containers
- Pour the syrup into freezer-safe glass jars or BPA-free plastic containers. Leave about 1 inch of headspace at the top to allow for expansion as it freezes.
- Label and Date
- Label the jar with the date of freezing. Frozen syrup lasts up to 6 months.
- Thawing the Syrup
- To use the frozen syrup, thaw it in the refrigerator overnight. Avoid microwaving it, as this can cause uneven heating and alter the consistency.
- Refreezing
- Avoid refreezing thawed syrup, as this can lead to a loss of flavor and texture.
Conclusion
Making homemade apple cider syrup in a crock pot is a rewarding experience that fills your kitchen with the warm, cozy aromas of fall. This rich, sweet, and tangy syrup is far more versatile than traditional maple syrup, offering endless possibilities for both sweet and savory dishes. From drizzling it on pancakes to glazing roasted meats, apple cider syrup is a must-have addition to your kitchen pantry.
The best part? It’s incredibly easy to make. With just a few simple ingredients, a crock pot, and a bit of patience, you can create a jar of homemade syrup that tastes even better than store-bought versions. By following the tips in this guide, you’ll be able to achieve the perfect thickness, customize the flavor to your liking, and store it properly for months of enjoyment.
So why not give it a try? The next time you’re craving a cozy, autumn-inspired treat, make a batch of apple cider syrup. You’ll be amazed at how simple it is to prepare and how much flavor it adds to your favorite dishes. Once you experience the taste of homemade apple cider syrup, you’ll never go back to store-bought syrups again.
Whether you’re a breakfast lover, a dessert enthusiast, or someone who enjoys experimenting with savory flavors, apple cider syrup is a delicious addition to your kitchen. Try it with fluffy pancakes, over ice cream, or as a glaze for roasted meats. Pair it with recipes like cheesy chicken and rice or as a dip for street corn with Tajin to create a truly unforgettable meal.
Now it’s your turn! Ready to bring the warm, cozy taste of fall into your home? Try this apple cider syrup recipe and share it with friends and family. Tag us on Instagram so we can see your delicious creations!
