If you’re anything like me during the holiday season, you’re juggling gift lists, school parties, work deadlines, and the sudden realization that—oh no—your neighbor just dropped off a homemade treat, and now you need to return the favor. That’s where Christmas Pinwheel Cookies swoop in like Santa with a rescue sleigh.
Colorful, cheerful, and way easier than they look, these cookies bring the magic without the stress. And around here at SlowCookersRecipes.com, that’s exactly the vibe we love—minimal effort, maximum cozy joy.
Table of Contents
Why You’ll Love These Christmas Pinwheel Cookies
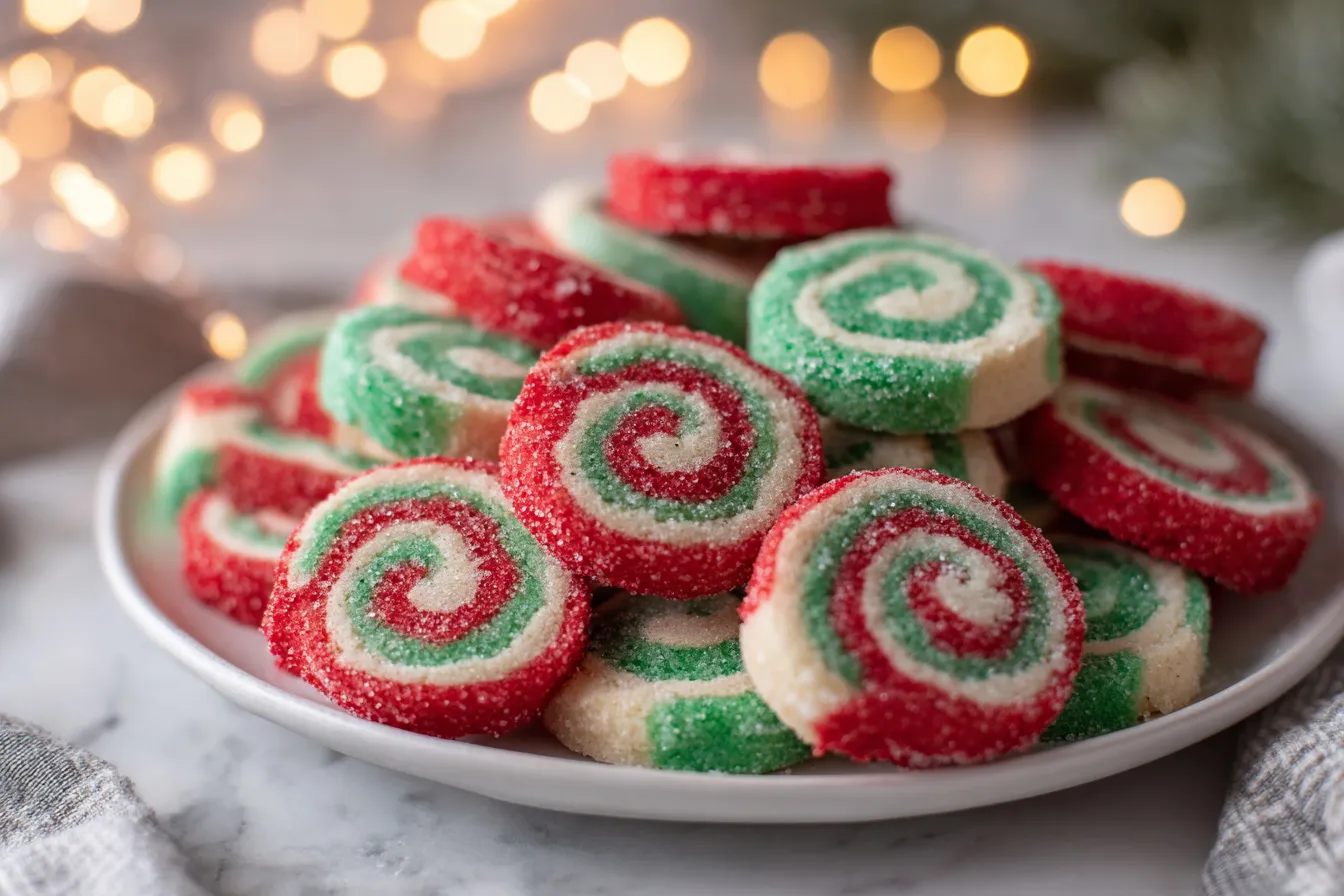
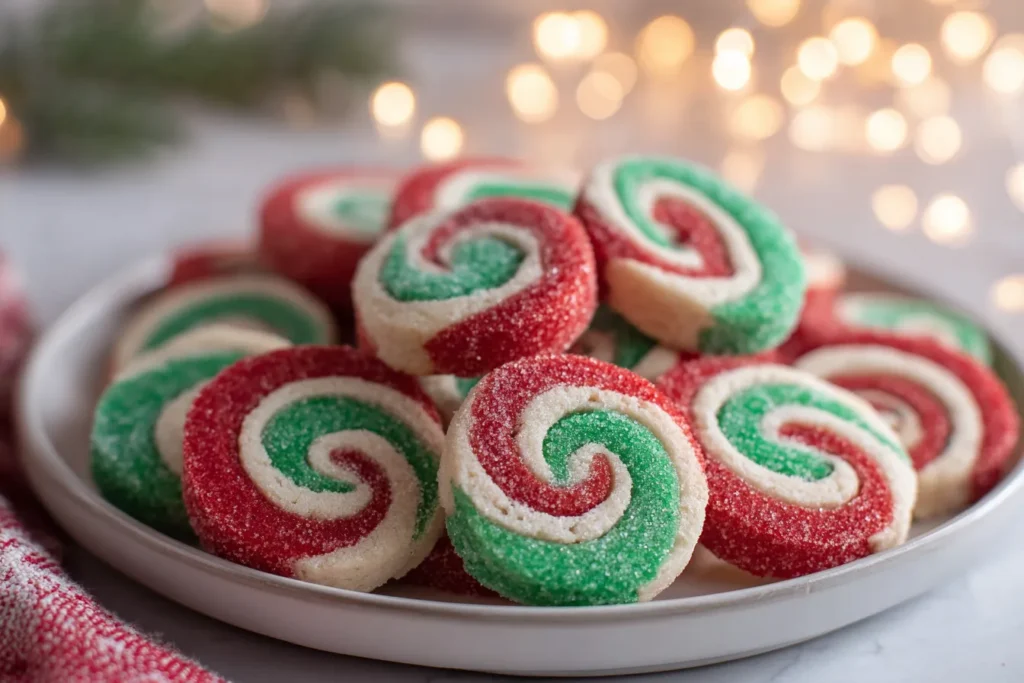
There’s just something about Christmas Pinwheel Cookies that makes people smile before they even take a bite. Maybe it’s the red-and-green swirl that looks like a dessert straight from the North Pole. Maybe it’s the soft vanilla sugar cookie flavor. Or maybe it’s that you can make the dough ahead, stash it in the freezer, and bake whenever the holidays feel chaotic—which, let’s be honest, is usually daily by mid-December.
These cookies are:
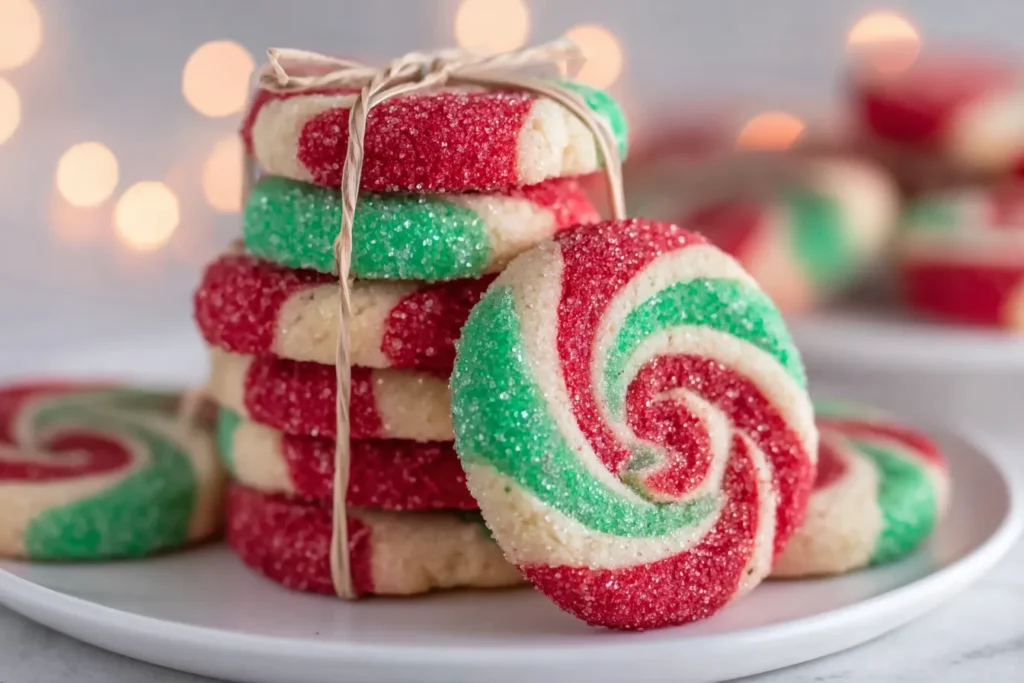
- A fun, eye-catching treat for parties, cookie swaps, or gifting
- Surprisingly simple, even if they look fancy
- Perfect for baking with kids (rolling the swirl is pure magic for them)
- Great for make-ahead bakers who like to prep early
- A guaranteed way to make your house smell like a cozy Christmas hug
And trust me, as someone who lives for stress-free cooking, these cookies check all the boxes.
Ingredients You’ll Need
Nothing complicated—just classic cookie ingredients and a little food coloring magic.
- 2/3 cup unsalted butter (softened)
- 2/3 cup sugar
- 1 egg
- 1 teaspoon vanilla extract
- 1 3/4 cups all-purpose flour
- 1/2 teaspoon kosher salt
- 1/4 teaspoon baking soda
- Red gel food coloring
- Green gel food coloring
- Red sanding sugar (for garnish)
How to Make Christmas Pinwheel Cookies
Here’s where the holiday magic happens—but don’t worry, no elves required.
1. Start with a Creamy Cookie Base
In a stand mixer with the paddle attachment, beat butter and sugar together at medium speed until the mixture is creamy—around 3 to 4 minutes.
Add the egg and vanilla extract, beating again until everything is well combined. Scrape the sides as needed. (If you’re like me and your kids keep “taste-testing” the dough at this stage… it builds character, right?)
2. Mix the Dry Ingredients
In a separate bowl, whisk together the flour, salt, and baking soda. While the mixer runs on low, gradually add the flour mixture to the wet ingredients. The dough will come together into a soft mass that smells like pure holiday happiness.
Remove the dough and divide it into three equal parts.
3. Add the Christmas Colors
Return one portion of dough to the mixer, add a few drops of red gel coloring, and beat until evenly tinted.
Repeat with another third using green gel coloring.
Leave the final third plain—this gives the pinwheel its classic three-tone swirl.
Shape each dough portion into a ball, wrap individually in plastic wrap, and refrigerate for 1 hour.
4. Roll Out the Dough
After chilling, roll each dough ball between two sheets of parchment paper to form a 7-inch square.
Refrigerate again for 15 minutes—keeping them between parchment so they don’t stick or dry.
5. Assemble the Swirl
Stack the dough in this order:
- Red
- Green
- Plain (top layer)
Cover with parchment and gently roll into a 12×8-inch rectangle.
Remove the top parchment and, starting on a long side, tightly roll the dough into a log. This step feels strangely satisfying—like wrapping the perfect Christmas gift.
Wrap the dough log in parchment and freeze for 1 hour. (Yes, you can freeze longer—days even. Holiday baking just got flexible.)
6. Bake to Perfection
Preheat oven to 350°F and line baking sheets with parchment.
Slice the chilled dough log into 1/3-inch thick cookies using a serrated knife. Roll each cookie edge in red sanding sugar for a little holiday sparkle.
Arrange cookies 1 inch apart and bake for 8–10 minutes, just until set.
Cool briefly on the baking sheet, then transfer to a wire rack to finish cooling. Once completely cooled, store in an airtight container—if your family doesn’t eat them all first.
Tips for Perfect Christmas Pinwheel Cookies
These quick tricks help your cookies look bakery-worthy without the stress:
- Use gel food coloring, not liquid. You get brighter colors without messing up your dough texture.
- Chill the dough as directed. It keeps the layers clean and the swirl sharp.
- If rolling the dough feels fussy, don’t worry—mine looked like a toddler wrapped them the first time, and they still baked up gorgeous.
- Don’t overbake. They should look set but not browned. Pale is perfect with sugar cookies.
- The dough freezes beautifully. Make the log ahead and slice-and-bake all season long.
A Little Story from My Kitchen
These Christmas Pinwheel Cookies saved me last year when December felt like one giant to-do list. I needed a festive treat for a cookie exchange, but between school events, online gift shopping, and my slow cooker working overtime with holiday meals, I didn’t have hours to fuss over complicated desserts.
I made one dough log, froze it, and sliced fresh cookies whenever I needed them. By the end of the week, I felt like a holiday baking superhero—cape not included.
FAQs About Christmas Pinwheel Cookies
Can I make these Christmas Pinwheel Cookies ahead of time?
Absolutely! The dough log freezes wonderfully. Slice and bake straight from the freezer.
What if I don’t have sanding sugar?
No problem—leave the edges plain or roll in sprinkles. Both options look adorable.
Can I use different colors for the holidays?
Yes! Try pink and red for Valentine’s Day or pastels for spring. The swirl design is endlessly fun.
My dough cracked while rolling—what went wrong?
Usually this means the dough is too cold. Let it soften for 5 minutes and try again.
Can I double this recipe for a large holiday party?
Definitely. It doubles very easily—just make sure you have enough parchment and fridge space
Bringing the Holiday Magic Home
There’s just something joyful about pulling a tray of Christmas Pinwheel Cookies from the oven—like instant holiday cheer. They’re colorful, fun, and surprisingly simple, making them perfect for busy cooks who still want a festive touch.
Whether you’re baking for a party, gifting to friends, or just craving something sweet while you wrap presents, these cookies bring that cozy, homemade Christmas feeling to your kitchen. And honestly? Watching those swirls appear in every slice never gets old.
When you need a treat that brings a smile and doesn’t add stress, reach for these Christmas Pinwheel Cookies—your new holiday baking tradition.
More Festive Treats to Enjoy This Season
If you loved making these Christmas Pinwheel Cookies, you can find even more inspiration in these delightful Christmas Pinwheel Cookies from one of my favorite baking creators.
You can also round out your holiday dessert table with a cozy batch of bakery-style chocolate chip cookies.
For a fun party treat, try serving a colorful bowl of Grinch Dip—it’s always a crowd-pleaser.
Kids and adults will enjoy making (and eating!) these charming Pretzel and Candy Melt Christmas Trees.
And if you’re planning ahead for Christmas morning, the warm and hearty Christmas Breakfast Casserole is a delicious way to start the day.
Print
Christmas Pinwheel Cookies: Joyful, Festive & Impossible to Resist
- Total Time: 1 hour 40 minutes
- Yield: About 24 cookies 1x
Description
These festive Christmas Pinwheel Cookies are soft, buttery sugar cookies swirled with bright red and green layers. They’re fun to make, freeze beautifully, and are perfect for holiday parties, cookie swaps, and gifting.
Ingredients
2/3 cup unsalted butter, softened
2/3 cup sugar
1 egg
1 teaspoon vanilla extract
1 3/4 cups all-purpose flour
1/2 teaspoon kosher salt
1/4 teaspoon baking soda
Red gel food coloring
Green gel food coloring
Red sanding sugar (for garnish)
Instructions
Add butter and sugar to the bowl of a stand mixer and beat on medium speed for 3–4 minutes, until creamy.
Add the egg and vanilla extract and beat well, scraping the bowl as needed.
In a separate bowl, whisk together the flour, salt, and baking soda.
With the mixer on low, gradually add the dry ingredients and mix until a soft dough forms.
Divide the dough into three equal portions.
Tint one portion with red gel food coloring, tint another with green, and leave the last portion plain.
Shape each portion into a ball, wrap in plastic wrap, and chill for 1 hour.
Roll each dough ball between two sheets of parchment into a 7-inch square. Chill for 15 minutes.
Stack the dough sheets: red on bottom, green in the middle, plain on top.
Roll into a 12×8-inch rectangle, then tightly roll into a log. Wrap and freeze for 1 hour.
Preheat oven to 350°F. Line baking sheets with parchment paper.
Slice dough into 1/3-inch cookies and roll the edges in red sanding sugar.
Place cookies 1 inch apart and bake for 8–10 minutes, until set.
Cool briefly on the baking sheet, then transfer to a wire rack to cool completely.
Store in an airtight container.
Notes
Use gel food coloring for bold colors without thinning the dough.
If the dough cracks while rolling, let it rest for 5 minutes to soften.
Freeze the dough log for up to 3 months for easy slice-and-bake holiday cookies.
Do not overbake—these cookies should stay pale and soft.
- Prep Time: 1 hour 30 minutes
- Cook Time: 10 minutes
- Category: Dessert, Cookies
- Method: Baking
- Cuisine: American
Nutrition
- Serving Size: 1 cookie
- Calories: 95
- Sugar: 7 g
- Sodium: 55 mg
- Fat: 4 g
- Saturated Fat: 2.5 g
- Unsaturated Fat: 1.3 g
- Trans Fat: 0 g
- Carbohydrates: 13 g
- Fiber: 0 g
- Protein: 1 g
- Cholesterol: 15 mg