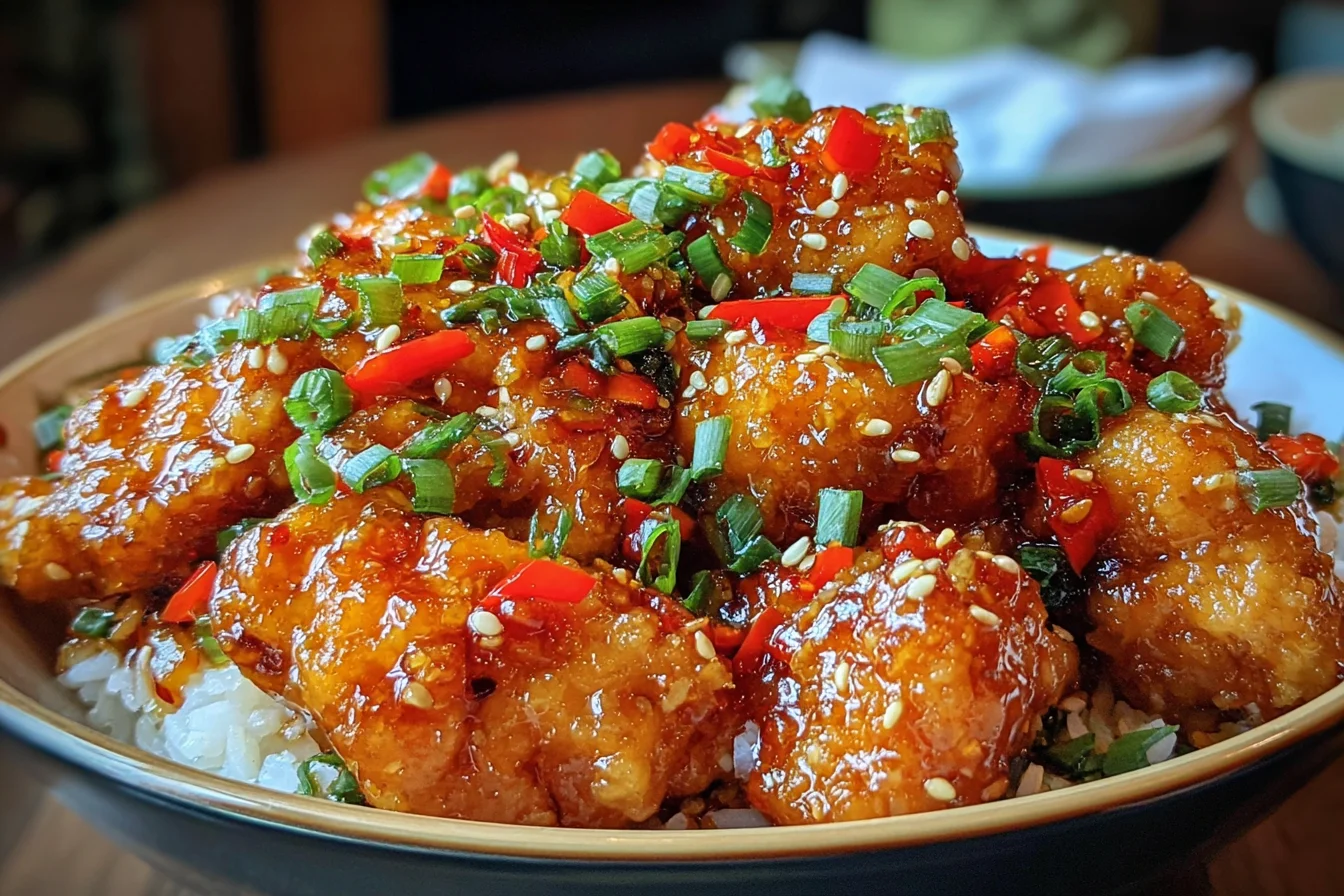
If Thai Sweet Chili Chicken has ever tempted you on a takeout menu, this is your sign to make it at home—without breaking a sweat (or your budget). This sweet-meets-tangy-meets-slightly-sticky chicken is the kind of dinner that makes everyone wander into the kitchen like, “What smells so good?” And honestly? That’s my favorite kind of magic.
This recipe is a total lifesaver for hectic weeknights: a quick marinade, a fast sear, then the sauce turns glossy and cozy like it’s been working all day (even though you didn’t). It’s bold, bright, and just the right amount of sassy—like dinner wearing a cute outfit.
Table of Contents
Why You’ll Love This Thai Sweet Chili Chicken
- Big flavor, tiny effort. Sweet chili sauce does most of the heavy lifting.
- Perfect for busy nights. You can marinate while you answer emails, referee sibling arguments, or stare at the fridge wondering why you opened it.
- Crowd-pleaser energy. Sweet + tangy = picky-eater friendly (usually).
- Sauce you’ll want to spoon over everything. Rice, noodles, veggies… your shoe if you’re having that kind of day.
Ingredients
Here’s what you’ll need for Thai Sweet Chili Chicken:
- 1 cup sweet chili sauce (main flavor base)
- ¼ cup soy sauce (or tamari, or coconut aminos for gluten-free)
- 3 tablespoons honey
- 2 limes, juiced
- ¼ teaspoon ground ginger
- 2 chicken breasts, halved into 4 cutlets
- 1 tablespoon olive oil (or other cooking oil)
- 1 green onion, thinly sliced
- Lime wedges, for serving
How to Make Thai Sweet Chili Chicken
Step 1: Mix the sauce
In a bowl, whisk together:
- sweet chili sauce
- soy sauce
- honey
- lime juice
- ground ginger
Whisk until it looks smooth and blended. You’ll notice it smells like dinner is about to be a whole vibe.
Step 2: Marinate the chicken
Add your chicken cutlets to a zip-top bag or shallow dish. Pour in half the marinade and coat the chicken well.
Refrigerate for at least 30 minutes.
If you only have 15 minutes, do what you can—life is real. But 30 minutes is the sweet spot.
Step 3: Sear for flavor
Heat olive oil in a skillet over medium-high heat.
Sear chicken 4–5 minutes per side, until golden and cooked through (or very close).
You’re going for that “look at me, I’m delicious” color.
Step 4: Simmer in the remaining sauce
Lower heat to medium. Pour the remaining marinade over the chicken.
Simmer 3–4 minutes, stirring and spooning sauce over the chicken, until it thickens and coats everything like a glossy glaze.
If the sauce looks thick, don’t panic—it’s not “too thick,” it’s extra comfort waiting to happen.
Step 5: Pressure cooker finish (per your instructions)
Transfer the chicken and thickened sauce to your pressure cooker.
- Seal the lid properly
- Set to Poultry mode
- Cook for 10 minutes
- Quick release, or let it sit a few minutes for a partial natural release if you prefer
Garnish with sliced green onion and serve with lime wedges.
Note from my kitchen: If your chicken is already fully cooked after searing (which often happens with cutlets), the pressure cooker step may make it extra tender but can also push it toward “very soft.” If you love super tender chicken, you’ll adore it. If you prefer juicy-but-firm cutlets, you can stop after the skillet simmer and serve right away.
Easy Serving Ideas
This sauce was born to be poured over something cozy. Here are a few favorites:
- Steamed jasmine rice (classic for a reason)
- Coconut rice if you want to feel fancy on a Tuesday
- Rice noodles or spaghetti in a pinch (no shame—just carbs)
- Stir-fried broccoli, snap peas, or bell peppers
- A simple bagged salad when you need “dinner” to meet you halfway
Tips for the Best Sticky-Saucy Chicken
- Slice chicken breasts into cutlets (like you’re doing). Thin chicken cooks faster and stays juicier.
- Don’t skip the sear. That golden crust makes the sauce taste even better.
- Want it spicier? Add a pinch of red pepper flakes or a little sriracha to the marinade.
- Want it less sweet? Cut honey down to 2 tablespoons and add a squeeze more lime.
- Sauce too thin? Simmer a bit longer.
- Sauce too thick? Add a tablespoon of water, broth, or a little extra lime juice.
A Little Real-Life Moment From My Kitchen
This Thai Sweet Chili Chicken saved me on one of those weeks where every day felt like a to-do list wearing roller skates. I needed something that tasted like I tried… without actually trying that hard. I threw the marinade together, seared the chicken while answering a “quick question” that was not quick, and somehow dinner still came out like a mini celebration. That’s the kind of recipe I keep close.
FAQs About Thai Sweet Chili Chicken
Can I use chicken thighs instead of breasts?
Absolutely. Boneless, skinless thighs work great and stay juicy. Sear a bit longer if they’re thicker.
Is Thai Sweet Chili Chicken spicy?
Usually it’s mild with a little kick, depending on your sweet chili sauce brand. If your household is spice-sensitive, start as written. If you want more heat, add chili flakes or sriracha.
Can I make this gluten-free?
Yes—use tamari or coconut aminos instead of regular soy sauce.
How do I store leftovers?
Cool completely, then store in an airtight container in the fridge for up to 3–4 days. The sauce thickens in the fridge—in a good way.
How do I reheat it without drying out?
Reheat gently in a skillet over medium-low with a splash of water, or microwave in short bursts, spooning sauce over the top.
Dinner That Feels Like a Win
Some recipes are “fine.” This Thai Sweet Chili Chicken is the kind that makes you feel like you’ve got your life together—even if there are unfolded laundry mountains nearby. It’s sweet, tangy, saucy, and satisfying in a way that screams comfort-food-meets-takeout-night… but from your own kitchen.
If you make it, don’t forget those lime wedges at the end. That final squeeze makes the whole dish pop—and it’s basically the grown-up version of putting on earrings before you leave the house. Thai Sweet Chili Chicken… but make it a little extra.
Keep the Flavor Party Going
- Crock Pot Sweet Chili Chicken (same cozy flavor, even more hands-off!)
- Slow Cooker Thai Basil Chicken Curry for a warm, saucy bowl of comfort
- Thai Peanut Chicken for a nutty, craveable twist
- Miso Green Beans for a punchy, salty-sweet veggie win
If you tried Thai Sweet Chili Chicken, I’d love to hear how it went in your kitchen—please leave a quick review and tap your star rating ⭐⭐⭐⭐⭐ (it helps other home cooks find their next favorite dinner!).

Thai Sweet Chili Chicken
- Total Time: 30 minutes active time (40–50 minutes including marinating)
- Yield: 4 servings 1x
Description
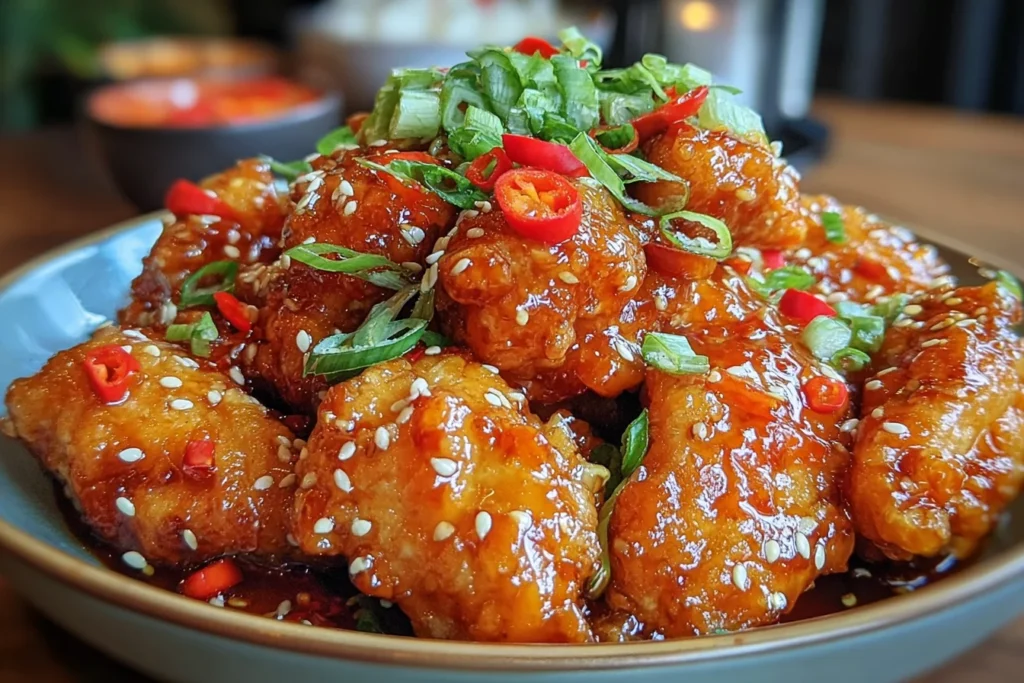
Thai Sweet Chili Chicken is a sticky, sweet, and slightly tangy chicken dish coated in a glossy chili glaze and finished with fresh lime, green onions, and sesame seeds. This quick skillet recipe delivers bold takeout-style flavor at home and is perfect for busy weeknights when you need something easy but crave-worthy.
Ingredients
1 cup sweet chili sauce
¼ cup soy sauce (or tamari or coconut aminos for gluten-free)
3 tablespoons honey
Juice of 2 limes
¼ teaspoon ground ginger
2 boneless, skinless chicken breasts, halved into 4 cutlets
1 tablespoon olive oil (or preferred cooking oil)
1 green onion, thinly sliced
Lime wedges, for serving
Instructions
In a medium bowl, whisk together sweet chili sauce, soy sauce, honey, lime juice, and ground ginger until well combined.
Place chicken cutlets in a zip-top bag or shallow dish. Pour in half of the marinade, coat evenly, and refrigerate for at least 30 minutes.
Heat olive oil in a large skillet over medium-high heat. Remove chicken from marinade and sear for 4–5 minutes per side, until golden and nearly cooked through.
Reduce heat to medium. Pour the remaining marinade over the chicken and simmer for 3–4 minutes, spooning sauce over the chicken until thickened and glossy.
Transfer chicken and sauce to a pressure cooker. Seal lid and cook on Poultry mode for 10 minutes. Quick release pressure (or allow a few minutes of natural release).
Garnish with sliced green onions and serve with lime wedges.
Notes
For extra heat, add red pepper flakes or sliced fresh chilies to the marinade.
If your sauce becomes too thick, stir in 1–2 tablespoons of water or chicken broth.
You can substitute boneless chicken thighs for juicier results.
If the chicken is fully cooked after skillet simmering, the pressure cooker step is optional.
- Prep Time: 10 minutes (plus 30 minutes marinating)
- Cook Time: 20 minutes
- Category: Dinner
- Method: Skillet + Pressure Cooker
- Cuisine: Thai
Nutrition
- Serving Size: 1 chicken cutlet with sauce
- Calories: 320 kcal
- Sugar: 18 g
- Sodium: 780 mg
- Fat: 9 g
- Saturated Fat: 1.5 g
- Unsaturated Fat: 7 g
- Trans Fat: 0 g
- Carbohydrates: 28 g
- Fiber: 0 g
- Protein: 32 g
- Cholesterol: 85 mg