Picture this: you come home from a long day, and your kitchen smells like a warm, buttery hug—that’s exactly what this Cheddar Bay Ground Beef Cobbler brings. With gooey cheese, savory beef, and fluffy biscuit topping, it’s a total lifesaver for busy weeknights.
Table of Contents
Why You’ll Love This Cheddar Bay Ground Beef Cobbler
- It practically makes itself. The filling simmers gently while you tackle the day, then you just dollop on that biscuit batter and bake.
- Family-friendly deliciousness. If your crew likes buttery biscuits and melt‑in‑your‑mouth cheesiness, this is their new favorite—and possibly tomorrow’s leftovers you’ll happily devour.
- Budget-friendly comfort. No fancy ingredients, just simple pantry staples that deliver loads of flavor.
Ingredients You’ll Need
Here’s your cozy ingredient lineup—straight from the cozy corners of your kitchen:
- Lean ground beef
- Sharp cheddar cheese
- Onion (sautéed until translucent)
- Fresh minced garlic
- Frozen mixed vegetables (optional, for color and a veggie boost)
- Bisquick (or any biscuit mix you have on hand)
- Milk (whole milk gives that rich, satisfying texture; feel free to swap in what you have)
- Beef broth (low‑sodium is great for control)
- A splash of Worcestershire sauce
- Salt & pepper to taste
How to Make It (Step‑by‑Step, Just for You)
Alright, apron on, favorite playlist humming in the background—we’re about to turn a handful of humble ingredients into a dish that feels like a big, cheesy hug. This Cheddar Bay Ground Beef Cobbler is weeknight magic in a casserole dish. And don’t worry, I’ll walk you through every delicious step.
Step 1: Preheat That Oven
Set your oven to 375°F (190°C). This little pre-game move ensures your cobbler bakes up with that perfectly golden biscuit topping. No one wants soggy tops—this dish deserves a crown of crisp!
Step 2: Sauté the Aromatics
Grab your biggest skillet and heat it over medium. Toss in the chopped onion and minced garlic with a little oil or butter (your kitchen, your call). Let them cook for about 3 minutes, stirring occasionally, until your kitchen starts to smell like cozy comfort. The onions should look soft and slightly golden—like they’re ready to make friends with the beef.
Step 3: Brown the Ground Beef
Add in your lean ground beef and break it up with a wooden spoon. Cook until browned all over—no pink bits, please! This is where the meaty magic begins. The mixture should be sizzling and happy.
Step 4: Veggie Time!
Toss in those frozen mixed veggies right into the skillet—no need to thaw. Add your Worcestershire sauce, salt, and pepper. Stir everything together so the flavors really start mingling. Let it cook for a few minutes, just until the veggies are tender and everything smells like dinner is well on its way.
Step 5: Let It Simmer and Shine
Pour in the beef broth and give it a good stir. Let the mixture simmer for about 5 minutes. This step is key—it helps deepen all those cozy flavors and thickens the filling slightly. It should look rich, saucy, and incredibly inviting. If your kids or spouse wander in asking, “What smells so good?”—you know you’re doing it right.
Step 6: Mix Up the Biscuit Batter
In a separate bowl, stir together your Bisquick and milk until just combined. Don’t overthink it. The batter should be thick but pourable, kind of like pancake batter with a little attitude. If you’ve got shredded cheddar hanging around, go ahead and stir in a handful for an extra cheesy twist. You deserve it.
Optional Flavor Tip: Want that Cheddar Bay flair? Add a pinch of garlic powder, a dash of parsley flakes, and a teeny bit of melted butter to your biscuit batter. Boom—restaurant vibes at home.
Step 7: Assemble Your Masterpiece
Pour that gorgeous beef-veggie mixture into a greased 9×13-inch baking dish. Spread it out evenly like you’re tucking it in for a nap. Now, grab spoonfuls of biscuit batter and dollop them right on top. No need to be perfect here—lumpy and imperfect equals rustic charm (and less stress for you!).
Step 8: Bake Until Golden and Bubbly
Slide your casserole dish into the oven and bake for 25 to 30 minutes. Keep an eye out for those biscuit tops turning golden brown, and the filling bubbling around the edges like it’s doing a happy dance. When it’s done, your kitchen will smell like buttery, garlicky heaven—and yes, your mouth will start watering uncontrollably.
Step 9: Let It Cool (Just a Little!)
I know it’s hard, but give it 5 to 10 minutes to cool. This helps everything settle and makes serving easier (plus prevents that molten cheese mouth burn we’ve all experienced at least once).
Then… scoop, serve, and get ready for the smiles.
Chef’s Little Tips (With a Dash of Mounia Humor)
- If your sauce looks runny, don’t panic—it’s just waiting to cuddle up with that biscuit topping.
- Don’t overmix the biscuit batter. Some lumps = rustic charm (and fluffier biscuits!).
- Need more veggies? Toss in extra frozen mixes or sneak in diced bell peppers—they won’t know what hit ’em.
- Got picky eaters? Serve with a simple salad or roasted green beans—they pair beautifully and add balance.
A Personal Little Story
One evening, I was chasing toddlers, juggling emails, and had zero brainpower left—but I still wanted homemade dinner. This cobbler saved the day. I popped it in the oven, and by the time emails were (almost) done, dinner was ready—savory, comforting, and exactly what home tastes like.

FAQs About Cheddar Bay Ground Beef Cobbler
Can I switch the meat?
Sure! Ground turkey or a plant‑based alternative works if you’re lightening things up or going veggie‑friendly.
How long will leftovers last?
About 3 days in the fridge—store it in that casserole dish with a lid or tightly wrapped.
Can it be frozen?
Absolutely. Wrap individual portions or the whole thing, and freeze up to 2 months. Thaw and reheat in the oven or microwave.
What if I don’t have Bisquick?
No worries! Any biscuit mix—or even homemade biscuit dough—will work. Add a touch of cheddar and garlic powder to mimic that Cheddar Bay flavor.
A Cozy Send-Off (In Mounia’s Voice)
Here’s the feeling: your home, warm and welcoming, filled with cheesy comfort. That’s the magic of Cheddar Bay Ground Beef Cobbler—a little bit dreamy, a lot delicious, and totally doable on any night. Try it tonight—I promise it’ll become one of those treasured “I-can’t-believe-how-good-this-is” meals.
Happy cooking, friend—your future self (and your family) will thank you.
Craving More Cozy Comfort Food? Try These Next!
If you loved this Cheddar Bay Ground Beef Cobbler, you’ll definitely want to cozy up with a few more reader favorites. These recipes keep the comfort coming with minimal effort and maximum flavor:
- Looking for another hearty casserole that’s equally satisfying? You’ll love this Crockpot Hamburger Potato Casserole—it’s a creamy, beefy hug in a dish.
- For a flavor-packed weeknight meal, try the Slow Cooker Salisbury Steaks—they’re tender, savory, and practically cook themselves.
- Need a cozy dinner with a spicy twist? Don’t miss this Crock Pot Cajun Chicken Pasta—it’s creamy, bold, and oh-so-satisfying.
- And if you want a beefy twist on cheesy comfort food, dig into this French Onion Soup Pasta—rich, cheesy, and perfect for pasta lovers.
Keep these on your meal planning radar—you’ll thank yourself later!
Print
Cheddar Bay Ground Beef Cobbler
- Total Time: 45 minutes
- Yield: 6 servings 1x
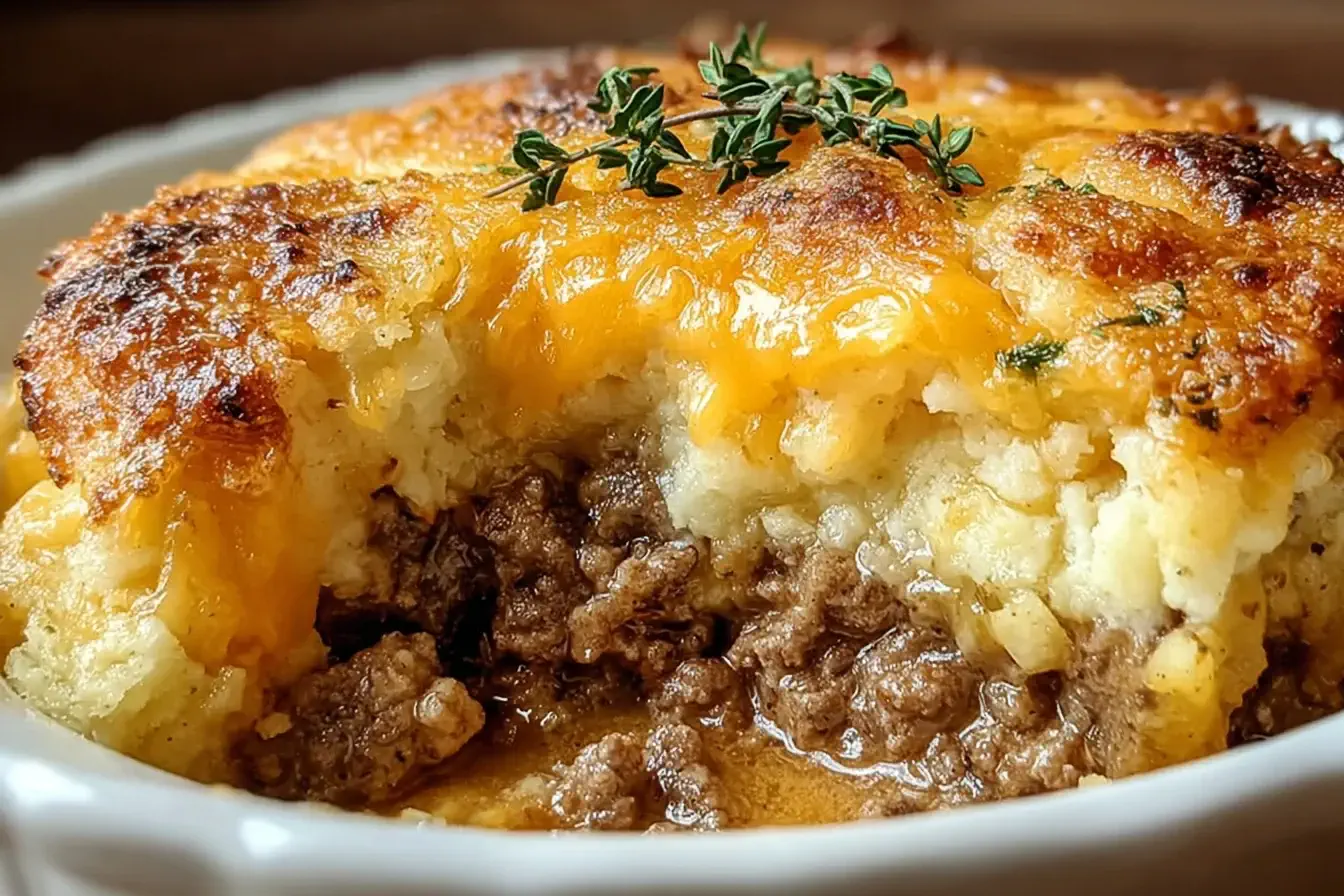
Description
This Cheddar Bay Ground Beef Cobbler is the ultimate comfort food—layered with savory seasoned beef, sweet corn, and topped with golden, fluffy cheddar biscuits. Perfect for busy weeknights or cozy weekends at home.
Ingredients
1 lb lean ground beef
1 cup sharp cheddar cheese, shredded
1 medium onion, diced
2 garlic cloves, minced
1 ½ cups frozen mixed vegetables
1 ½ cups Bisquick mix
⅔ cup whole milk
½ cup low-sodium beef broth
1 tbsp Worcestershire sauce
Salt & pepper to taste
Optional: parsley or thyme for garnish
Instructions
Preheat oven to 375°F (190°C).
In a large skillet, sauté diced onion and minced garlic over medium heat for 2–3 minutes until soft and fragrant.
Add ground beef, breaking it up as it cooks. Brown thoroughly, then stir in frozen vegetables, Worcestershire sauce, salt, and pepper. Cook for 3–4 minutes.
Pour in beef broth and let the mixture simmer for about 5 minutes until slightly thickened.
In a bowl, mix Bisquick and milk until you have a thick, pourable batter.
Pour the beef mixture into a greased 9×13-inch baking dish.
Spoon dollops of biscuit batter evenly over the top.
Sprinkle shredded cheddar cheese over the biscuit topping.
Bake uncovered for 25–30 minutes, until the biscuits are golden brown and fully cooked through.
Let cool slightly before serving. Garnish with fresh herbs if desired.
Notes
Want extra cheesy flavor? Add a handful of cheddar right into the biscuit batter!
Don’t stress about perfect biscuit placement—rustic is the goal!
This dish freezes well. Store in airtight containers for up to 2 months.
- Prep Time: 15 minutes
- Cook Time: 30 minutes
- Category: Dinner
- Method: Baking
- Cuisine: American
Nutrition
- Serving Size: 1 Serving
- Calories: 410 kcal
- Sugar: 4 g
- Sodium: 720 mg
- Fat: 22 g
- Saturated Fat: 10 g
- Unsaturated Fat: 9 g
- Trans Fat: 0 g
- Carbohydrates: 28 g
- Fiber: 2 g
- Protein: 24 g
- Cholesterol: 75 mg